How to Create Perspective Room in Adobe Photoshop?
Adobe Photoshop comes with a series of transform controls and options which you find inside layer menu in the software. These options help us in scaling, rotating, distorting, changing the original form of the layer, flipping on both Y and X axis, etc. One such option is Perspective which comes in the transform options. In this blog, we will go through the important steps to create a room with the help of perspective in Adobe Photoshop.
Step. Create a pattern for the wall
Use simple marquee tool to create a brick wall pattern and then make 4 more copies using Alt command. Place the copied layers on all 4 directions using move tool.
Step. Apply perspective command
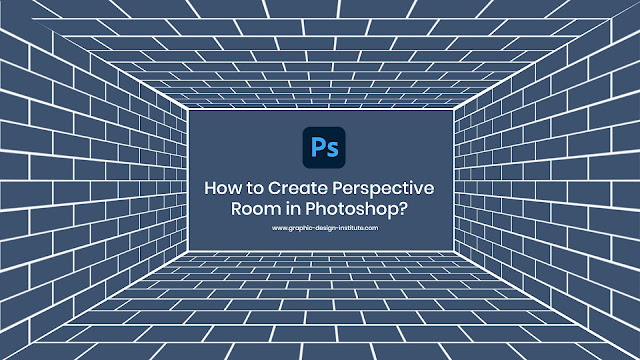
Now when you are done with this you have to select the individual select one by one to apply perspective command on it. To do so, first select the layer, for eg, select right side layer. Now press Control + T command and right click. Pick up perspective option from there. Now you pick bottom right point and drag it from top to bottom. You’ll see the perspective wall.
Repeat the same steps with remaining three walls.
And you will be ending up with a kind of one point perspective room.
To learn more about transformation and other tools in this photo editing software then you must join one of the best Adobe Photoshop courses from experts in institutes like Graphic Design Institute in Delhi where you can learn things from very basics.


If you're in Rohini and looking to break into Garphic Desiging Course in Rohini , this course is perfect! The curriculum covers all the essential tools like Photoshop and Illustrator. A must for aspiring designers!
ReplyDeleteIf you want to master Adobe Photoshop and learn all its transformation tools, including perspective, then joining a professional course is the best choice. At Graphic Design Institute in Delhi, expert trainers guide you through the basics to advanced techniques. You’ll get hands-on training on tools like scaling, warping, and perspective transformation, helping you create realistic designs. Enroll today!
ReplyDeleteRegards,
DICC Institute
Gaming news and Updates